
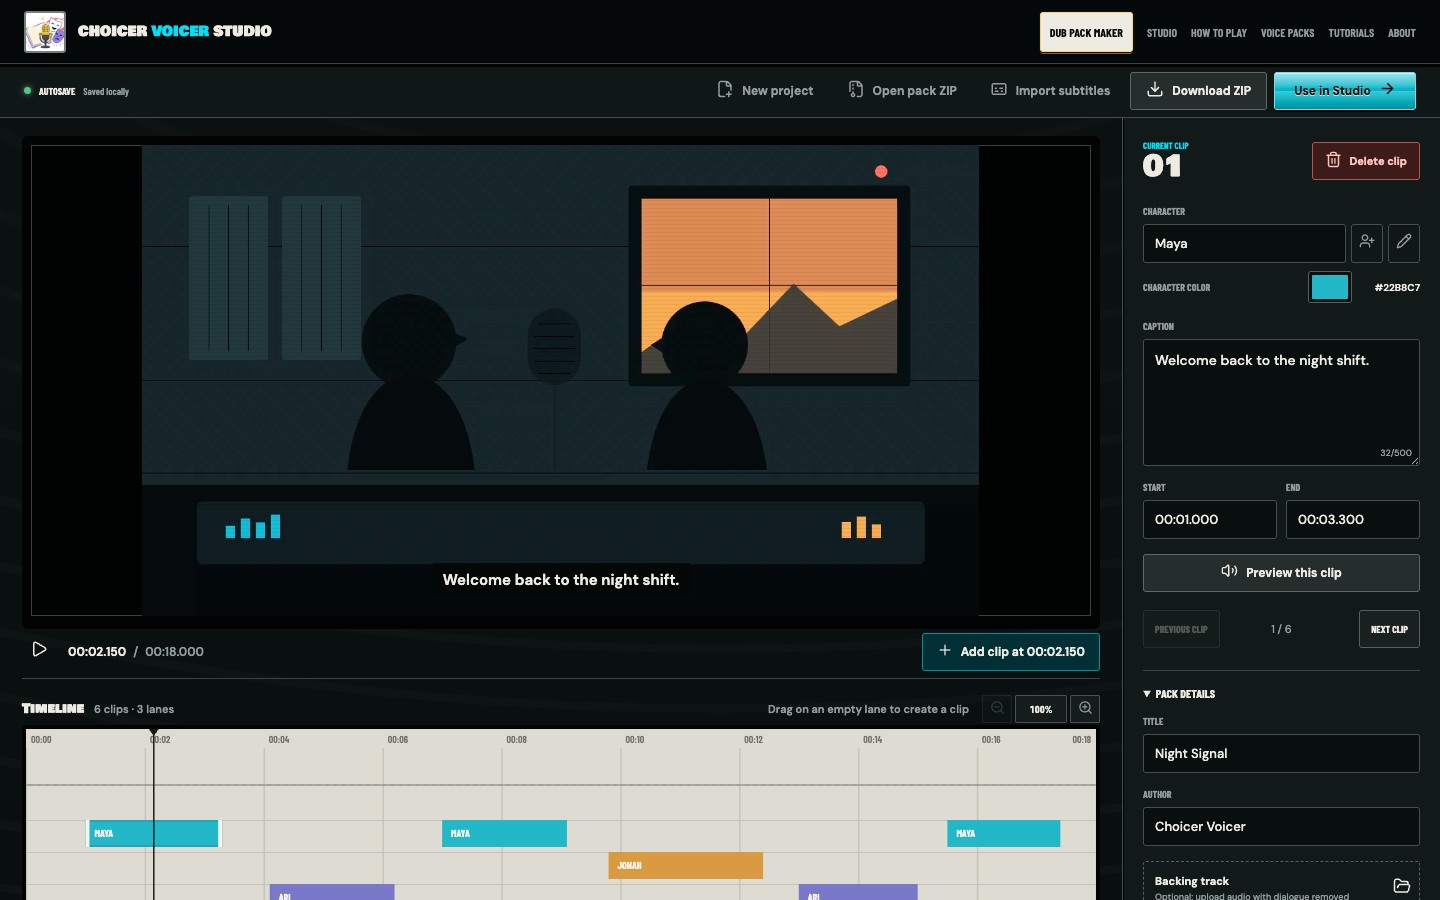
A pack with clear character data is easier to edit and much easier to play. The rule is simple: one fictional speaker gets one character, reused across all of that speaker's clips.
Create the first character
Add or select a clip, then enter a name in the Character field. The first name creates a character and gives it a color. Later clips can choose the same name from the input suggestions, which places them on the same lane.
Use names a player can understand at a glance. Receptionist is better than Woman 1 if that is the role in the scene. Keep names short enough to fit comfortably in the Studio label and multiplayer role picker.
Add another speaker deliberately
Press the new-character button beside the field before entering a new speaker. This creates a separate role instead of renaming the current one. Pick a distinct color if two adjacent lanes are hard to tell apart.
Changing the color on one selected clip changes the character color everywhere that role appears. It does not create a new version of the character.
Reuse, do not retype variations
If a role already exists, select its exact name. Creating Host, HOST, and The Host as separate roles turns one performance into three assignments. The editor normalizes obvious case differences, but consistent names still make the project easier to read.
The timeline lane is a useful audit. Scan down it after you finish marking clips. If the same speaker unexpectedly jumps to another lane, select that clip and assign the existing character.
Rename or merge safely
The pencil button renames the selected character everywhere. Use it when you decide that Guard should be Night guard. You do not need to edit every clip.
If the new name already belongs to another character, Pack Maker offers to merge them. A merge moves all clips to the existing character and one lane. That is the right fix for duplicate roles, but read the confirmation before accepting it. A merge is different from giving one clip to a different speaker.
Handle overlapping dialogue
Two people can speak at the same time. Create one clip for each line and let the ranges overlap on separate lanes. Keep each caption focused on its own speaker. The Studio prompts the lines separately even though they occupy the same moment in the source.
Preview both clips. If each one contains a lot of the other person's voice in its original audio, the reference may be harder to imitate, but the timing data is still valid. A dialogue-free backing track prevents those original voices from returning in the final dub.
Think about how the pack will be cast
In solo mode, lets one player dub selected characters while unchecked roles keep their original voices. In multiplayer, players select one or more roles before the game begins. Clean character data is what makes both options possible.
A role with one tiny line can be fun, but it may leave a multiplayer guest with almost nothing to do. For a group pack, look at the clip counts and combine the casting plan sensibly. Do not merge different characters just to balance the game; let one player select multiple roles instead.
Review the cast before export
- Every clip is assigned to the person actually speaking.
- One character does not appear under spelling variants.
- Colors are distinct enough to scan on the timeline.
- Overlapping speakers have separate clips and captions.
- Role names make sense without knowledge of your edit notes.
Use , open Choose roles, and check the list. That one screen catches stray or duplicate characters faster than another timeline pass.