
Most rough home recordings have one of two problems: the room is louder than expected, or the microphone keeps moving. Both are fixable before you buy anything.
Pick the least reflective room
Record near curtains, a bed, a sofa, or a rack of clothes. Soft surfaces shorten the hollow tail after each word. Kitchens, bathrooms, and empty rooms do the opposite. Clap once and listen. If the clap rings, move somewhere softer.
Close the window, silence phone notifications, and wait for fans or appliances to stop if you can. You do not need absolute silence. You need a noise floor that stays roughly the same from the first clip to the last.
Use headphones, even cheap ones
The Studio plays the original line immediately before you record. Open speakers can feed that line into the microphone, where echo cancellation may only remove part of it. Headphones keep the reference out of the take and make timing easier to judge.
A headphone cable tapping a desk or shirt sounds much larger through a nearby microphone. Give the cable slack and keep it away from the mic stand.
Hold one mic position
For a laptop microphone, sit at the same distance and angle for every line. For a headset or external mic, keep it slightly to the side of your mouth rather than directly in the air stream. Start about a hand's width away and move closer only if the take is too quiet.
Do not lean into loud lines and away from soft ones. That changes the tone as well as the level. Stay put and let your performance supply the dynamics.
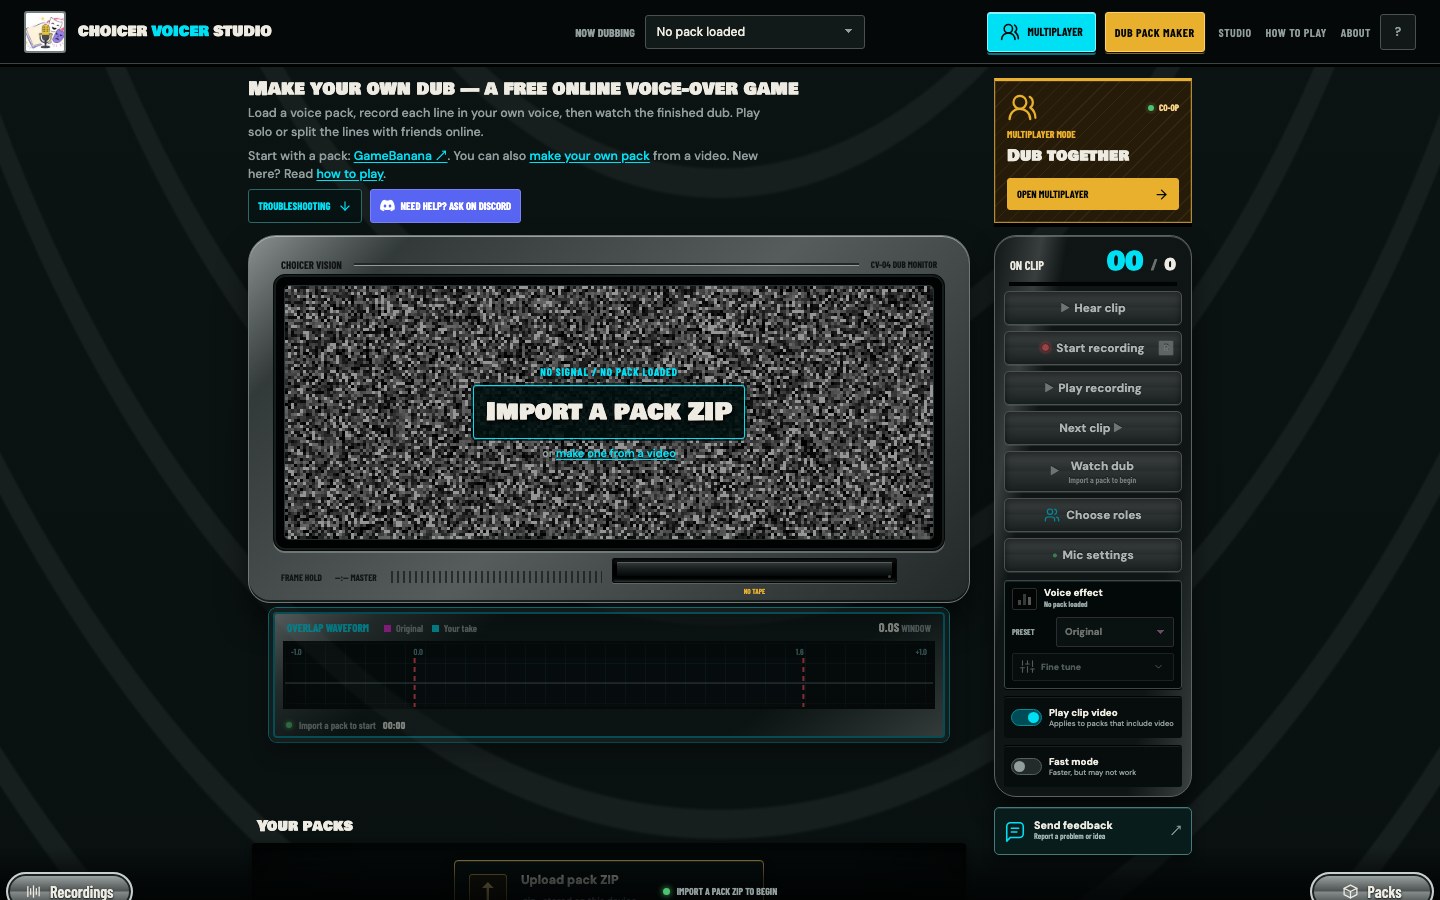
Choose the input in Mic settings
Open , allow browser access, and select the intended device. If a USB microphone does not appear, connect it before opening the chooser and press .
The processing switches ask the browser to alter the signal before the Studio records it. Browser and device support varies, but the controls are useful when the raw input has a specific problem.
- Automatic volume
- Raises and lowers level for you. Useful for very quiet speech, but it can make room noise swell between words.
- Noise reduction
- Helps with steady fan or computer noise. Heavy processing can make consonants watery, so compare it on and off.
- Echo cancellation
- Targets sound coming from speakers. Headphones usually make it unnecessary.
- Voice isolation
- Uses supported device processing to favor speech over the room. The option may not be available everywhere.
A good starting point is noise reduction on and the other switches off, which matches the Studio default. Change one setting at a time and record the same sentence after each change. Otherwise you will not know which switch helped.
Set level with the loudest line
Find a line you expect to perform loudly and record it first as a test. Listen for crackling or a flattened, harsh top on loud syllables. If you hear either, move a little farther away or reduce the microphone's hardware gain.
A quiet clean take is easier to live with than a clipped one. The Studio can mix a reasonable level difference, but it cannot restore audio that was distorted while recording.
Keep the session consistent
Record all lines in one sitting when possible. If you stop and return later, note the microphone, input setting, room, and distance. A changed position is obvious when two adjacent characters are meant to sound like the same person.
Play the full dub before chasing tiny waveform differences. Listen for sudden changes in room tone, volume, and distance. Those jumps draw more attention than a slightly late word.
Quick fixes for common sounds
- Hollow or distant
- Move closer and choose a softer room. Turning up gain will also turn up the room.
- Popping on P and B
- Aim the microphone past the corner of your mouth instead of straight at it.
- Level pumps
- Turn off Automatic volume and test again.
- Original line leaks in
- Use headphones and turn off open speakers before the next take.
- Words cut off
- Stay still until recording has fully stopped; do not switch tabs during a take.